Hierarchical topology layout
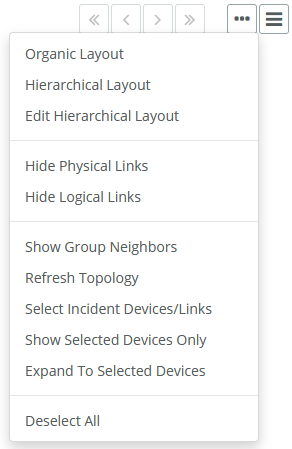
You can display sites and groups in a hierarchical layout. From a Site or Group Topology tab’s ellipsis icon (three dots), you can perform a variety of tasks and display the topology by a variety of layouts, including Organic and Hierarchical, as shown in the following screen.
Displaying hierarchical topology layout using the ellipsis icon
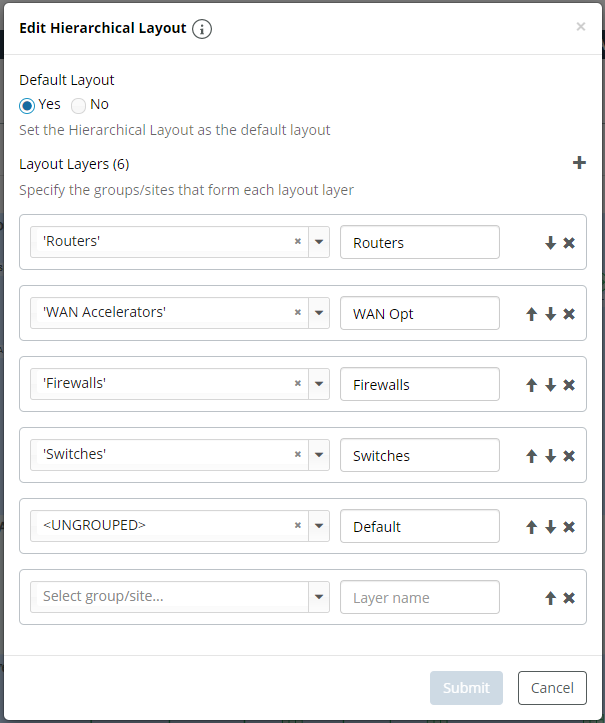
The hierarchical layout defaults to a single layer, but you can define the layers and order and can set the hierarchical layout to be the default layout, as shown in the following screen.
Administrators can set up the layers for the hierarchical topology and make it the global default. However, if individual users set up their own configuration, the individual user’s configuration will be used until they delete all the layers.
Setting the hierarchical layout
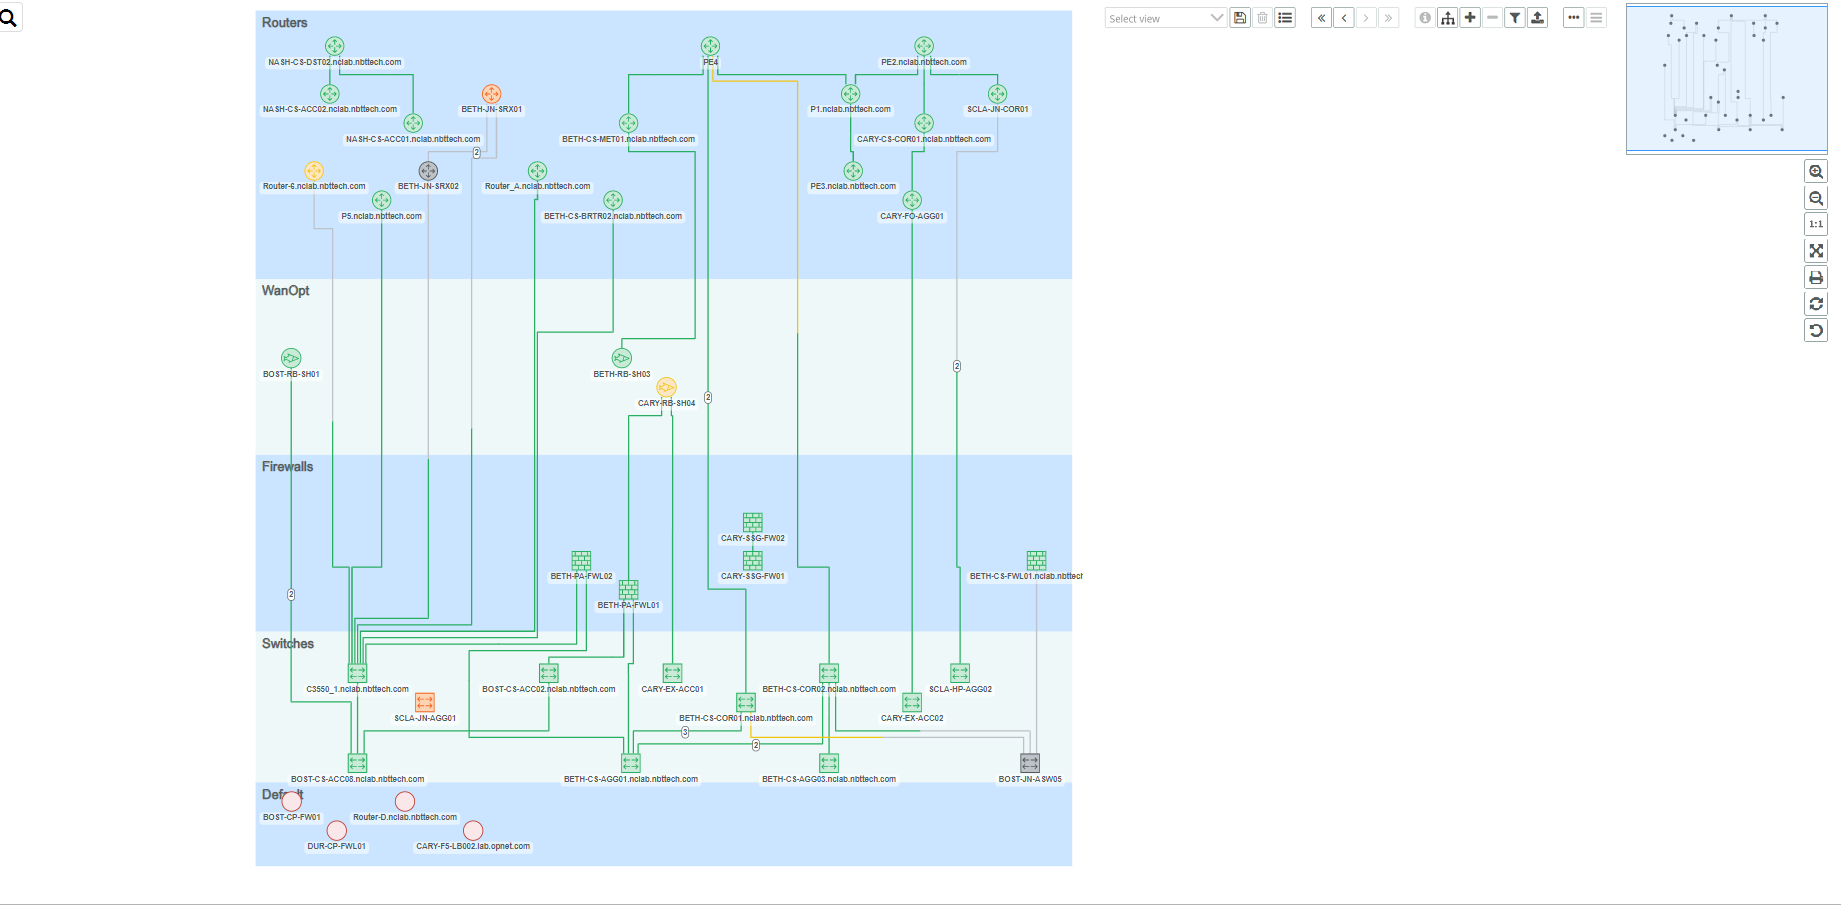
The layers and default you set here also apply to a device’s Network Neighbors panel. The following example is a hierarchical layout applied to a site topology with layers assigned as indicated in the screen.
Example of hierarchical layout applied to a site topology
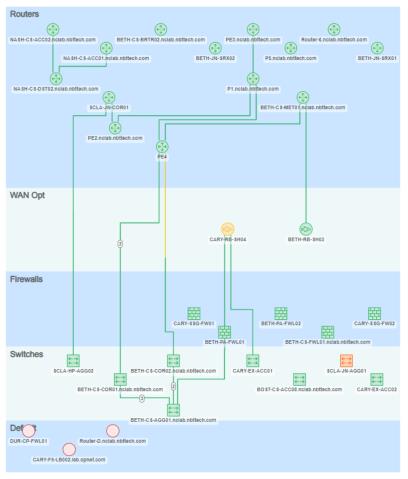
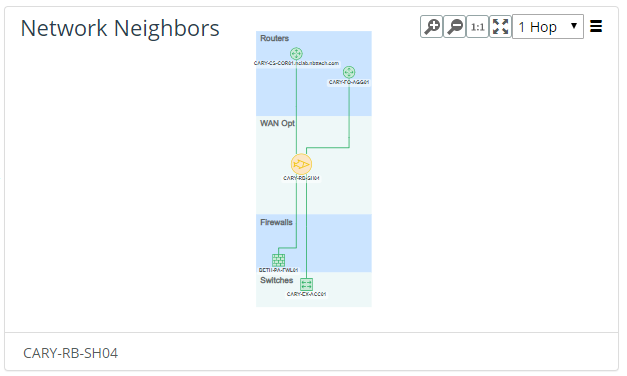
The following same hierarchy is applied to the Network Neighbors panel.
Hierarchy applied to the Network Neighbors panel
Similarly, in the Topology Viewer, using the ellipsis icon (three dots) you can perform a variety of tasks and display the topology using a variety of layouts, including Organic and Hierarchical, as shown in the following screen.
Selecting Topology Viewer tasks and displays
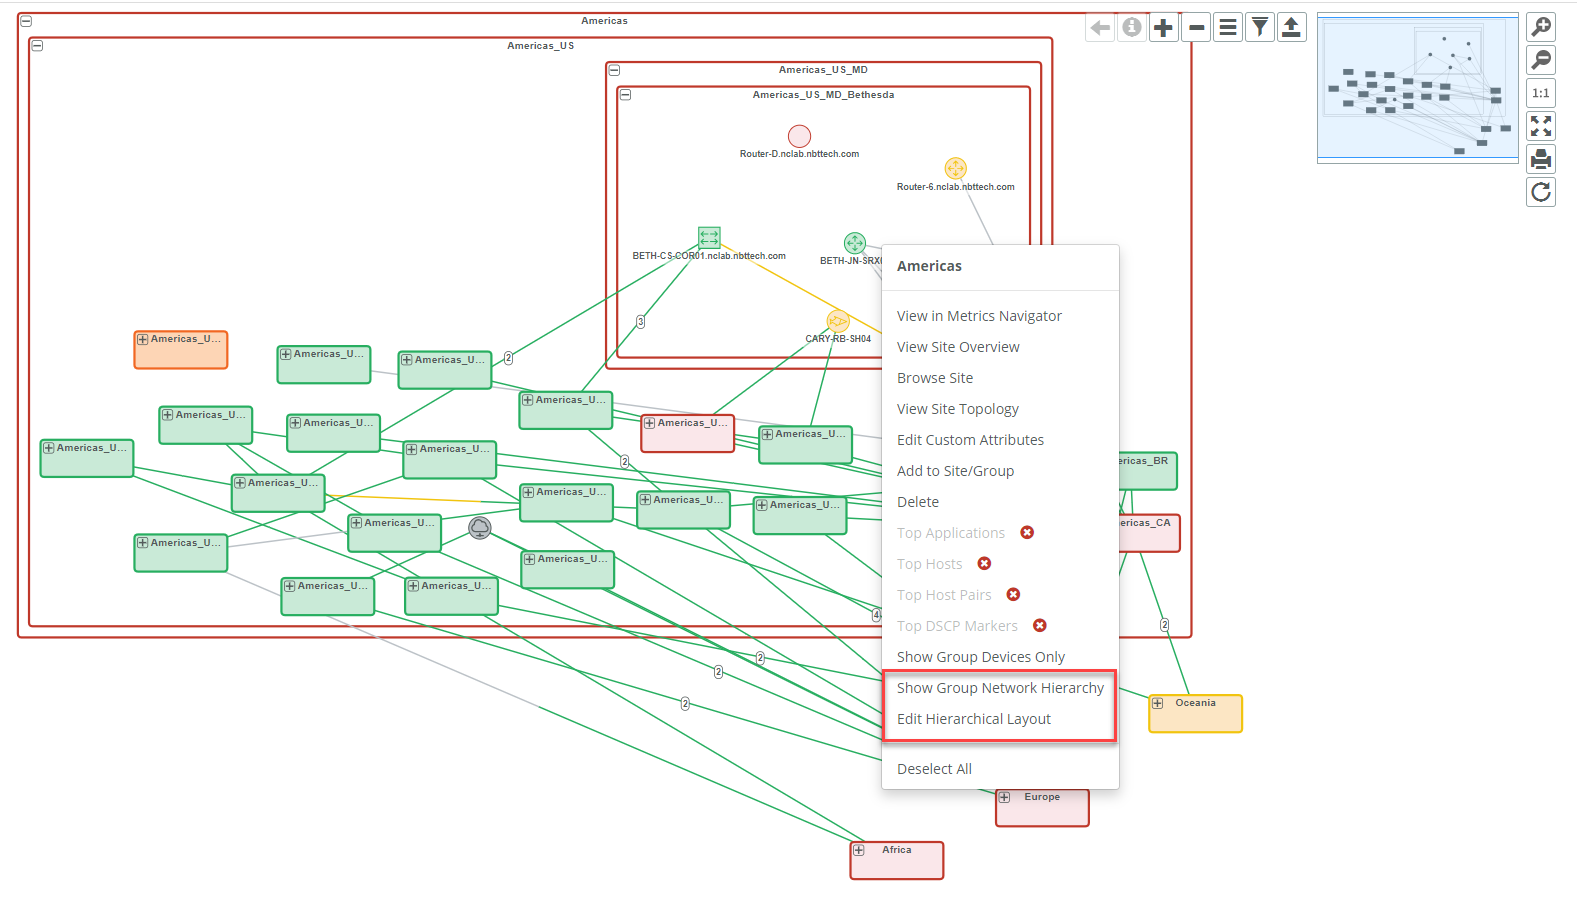
You can also use the right-click menu to perform the same operations, as shown in the following screen.
Performing operations with the right-click menu
The hierarchy you define on the Network Topology page is independent of the hierarchy you define in the Site/Group Topology and Network Neighbors views, but is similar in capability as shown in the following screen.
Similarities in capabilities of hierarchy definitions